

Support + How To’s
This page contains helpful tips and tutorials for updating and using your Squarespace website.
You will find links to download your brand files, Squarespace video tutorials, and gifs of important how-to’s customized to your specific site.
Be sure to bookmark this page for easy reference!
Page Contents:
Brand Guide & Files
General Squarespace Tips
Customized How-To Videos
Squarespace Outage Help
Campfire Alumni Link
Style Guide

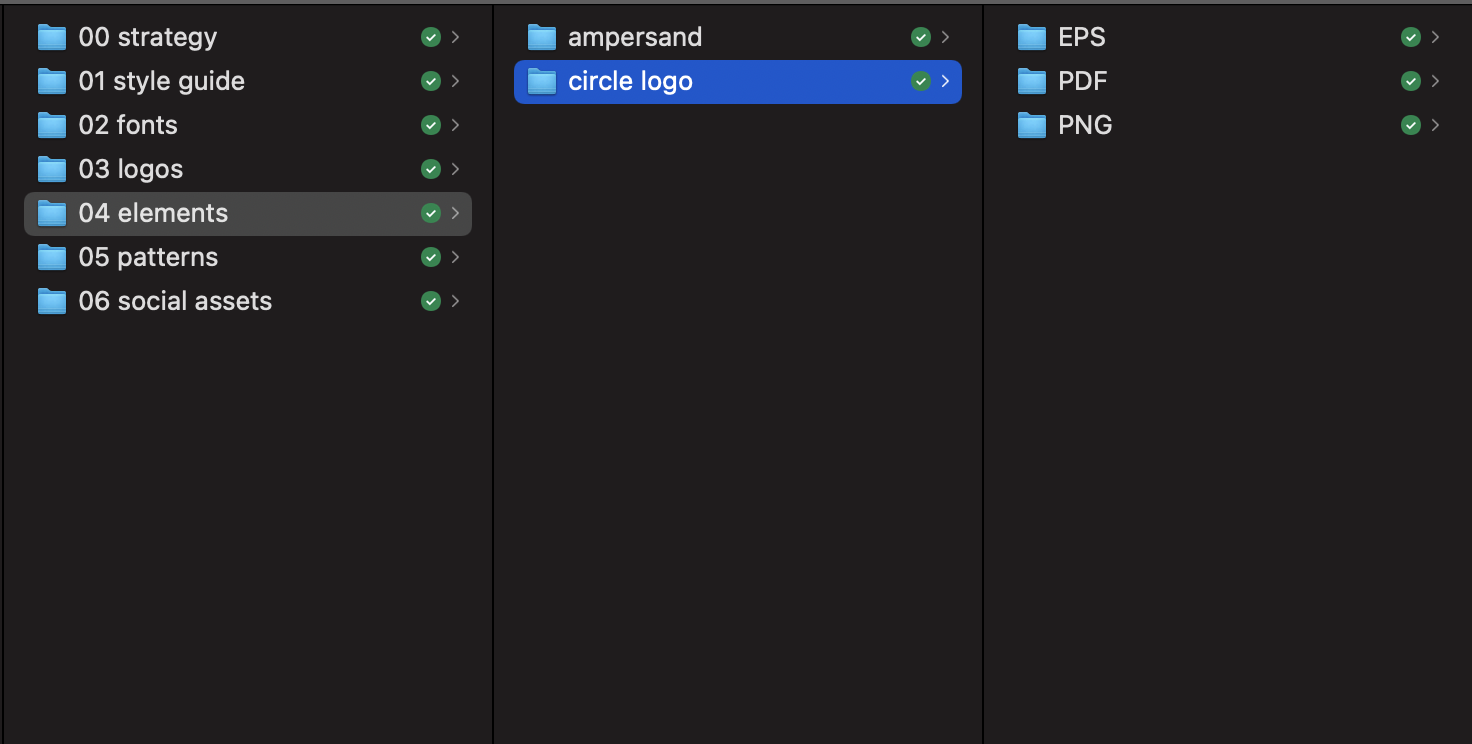
A few notes on your Brand Files folder organization:
The folders are organized by logos, elements, fonts and patterns. Within each of those categories, there are separate folders for each file type and color when applicable. Please install the fonts to your computer.
For print applications: we suggest using EPS or PDF files, followed by PNG. Business card files can be found under the Print folder as well.
For web applications: we provide PNG files. These are a standard size but if you need something different, please just send us the specific specs and we can export additional files.
Under web files, the social assets folder has logo versions for social profile pictures as well as your business card mockup (if we have included that in your package). We strongly suggest exploring your Brand Files folder and getting acquainted with all of the included graphics!
General Squarespace Tips
LOG IN
Visit Squarespace.com and hit the log-in button in the top right. Type in your email and password credentials and log in.
DASHBOARD
All of the tools you need to edit your website live within the dashboard list on the left. To adjust the content of your website, click on PAGES. For general settings, click on SETTINGS. We've set the styles of your site in our design process. If you need to adjust style settings, click on design DESIGN.
Linked Pages - These are pages that are listed in your main navigation.
Non-Linked Pages - Non-linked pages are areas of your website that are available to the user but do not appear in the main navigation.
Basic Squarespace Tutorials:
How to Edit a Blog
Navigate to your Squarespace account dashboard. On the left-hand side click PAGES.
Once you open your pages scroll down to PROJECTS. Click on the blog page and it will take you to your blog setting and options.
Hover over the blog you want to edit and click the three dots to the right. You can also click the plus sign at the top to start a new blog and add your content.
You will have templates available to you so you are welcome to click the three dots to the right and DUPLICATE the preferred template
From there you can add images, text, and titles. You’re going to want to add categories (Project type + location) and publish the post in the SETTINGS of the blog.
Once you have made your desired changes click DONE at the top left of the screen and click SAVE.
How to Edit Page Text
Navigate to the page where your text lives.
Click the EDIT icon at the top left of your live website window, or double-click the area of the site you want to edit.
Click into the text section you want to edit and add or edit text like you would in a normal document.
Use the Tools bar to add URL links or change the style of text to a heading or paragraph style.
Click Save or Discard Changes at the top left when you’re ready to end your editing session.
How to Edit a Home Page Images
Your homepage images live in a slideshow. Navigate to the home page.
Click the EDIT icon at the top left of your live website window, or double-click the area of the site you want to edit.
Hover over the “section” of the site where your banner image exists. A section editing panel will pop up on the right. Click EDIT CONTENT to edit the section.
Click the “Content” tab. From there you can click which item you want to edit or add new images. Click off this box when you’re done.
Click Save or Discard Changes at the top left when you’re ready to end your editing session.
How to Edit an Image
Navigate to the page where your image lives.
Click the EDIT icon at the top left of your live website window, or double-click the area of the site you want to edit.
Hover over the image you want to change. Click the pencil icon to edit the image.
Delete the current image and then browse for a new image. Upload it and then adjust the center focal point (white dot) as needed to center the image properly.
Click Save or Discard Changes at the top left when you’re ready to end your editing session.
How to Edit a Form
Navigate to the page where your form lives.
Click the EDIT icon at the top left of your live website window, or double-click the area of the site you want to edit.
Hover over the form you want to change. Click the pencil icon to edit the form.
The form editing box will appear and give you a multitude of options for adding questions, editing questions, or removing them.
Click the storage tab at the top to edit the email address form responses are sent to.
Click Save or Discard Changes at the top left when you’re ready to end your editing session.


Help! Squarespace is slow, glitchy, or not working!
It happens! But have no fear, please bookmark and check out the Squarespace Help Twitter feed for updates on server outages and what their team is doing to fix the issue at hand. Server disruptions typically last no more than 30 minutes.
Thank you
Thanks so much for trusting us with your brand! We are really proud of the work we’ve created together. We are excited to continue to watch your brand grow. If you find yourself needing any additional features or edits, please send us an email or visit our contact page. Cheers to more adventures together!